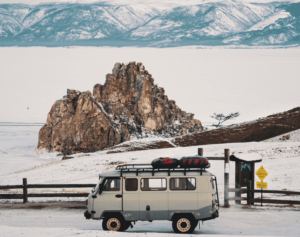
As the first day of spring has already passed us by and the torturous weather conditions that Canadian winters bring begin to fade away, campers and RVers can finally start to pack their bags and prepare themselves for camping season. With this comes the responsibilities of de-winterizing RVs to ensure they are fully maintained and prepared for the next 5–7 months. Here is a full in depth checklist to ensure that your campers and RVs are fully prepared for the spring and summer seasons.
If owning and maintaining an RV seems daunting, finding a perfect RV rental is pretty easy thanks to services like RVezy.
Examine and Inspect the Exterior
A great way to start de-winterizing your trailer is to examine and inspect the exterior of the trailer for any forms of damage, leaks, and cracks. Leaks and cracks can lead to a headache of problems if not dealt with immediately to prevent any further damage or mold from forming. Harsh winter conditions can be very harmful to the body of the RV or camper and are one of the main causes of damage. Some of the areas you want to spend a little extra time inspecting include:
- Vents
- Windows
- Doors
- Compartments
- Seals
- Awning
- Roof
- Hitch
- Exterior lighting

All of these areas are likely to suffer damage from winter, excess snow and rain, and ice. If you happen to identify any damage or leaks, get them repaired immediately from a trusted repair shop.
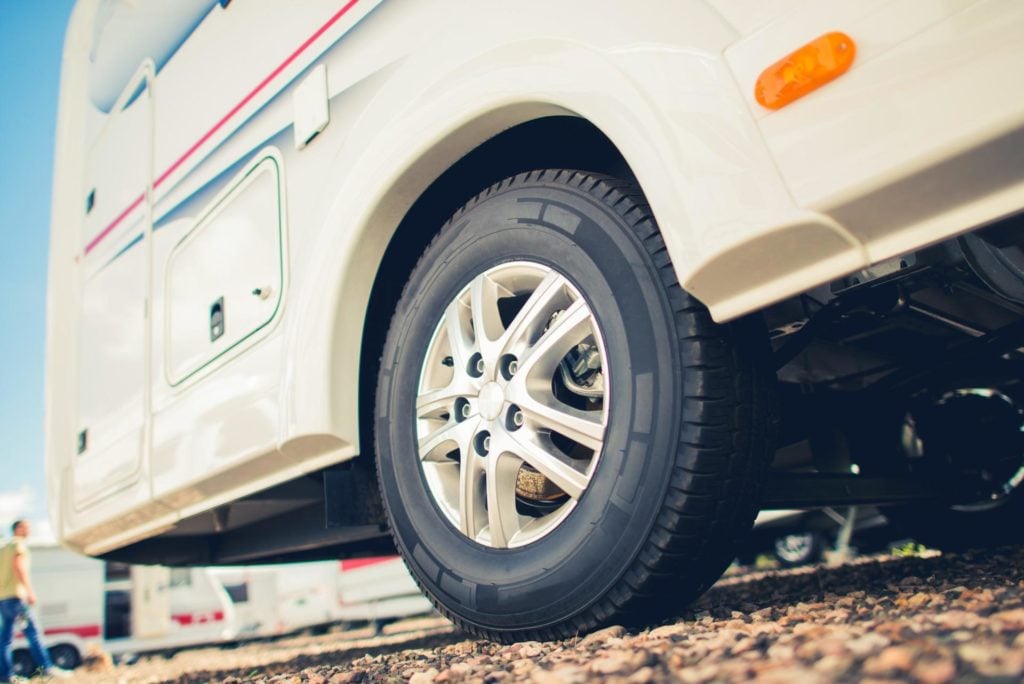
Tires
During the months that your RV is in storage, it will lose approximately 2–3 psi of air in each tire per month. If your RV has been stored outside during the winter months, the deflation may be even worse. It is extremely important to check the air pressure in all 4 tires to ensure that the RV will drive and handle properly for your next camping trip. Otherwise the safety of you and your passengers may be at risk. To check the air pressure in your tires, use a tire pressure gauge (any of these tire pressure gauges from Amazon will do the trick) to check the air pressure in all of the tires including the spare, and research if it meets the tire manufacturers required air pressure. If tire pressure is low, inflate the tires to the recommended air pressure. You should also consider checking your tires for any damages or deformities as well as checking that there is still a considerable amount of tread left on each of the tires.
Charge and Reinstall Batteries
Similar to your tires leaking air throughout the winter months in storage, your batteries will also lose some of their charge each month due to internal leakage. If you’re looking to extend the lifespan of your RV’s batteries, you can keep them charging during storage which will prevent internal leakage and let them last longer. To check and reinstall your RV’s batteries for the next camping trip, follow the steps below:
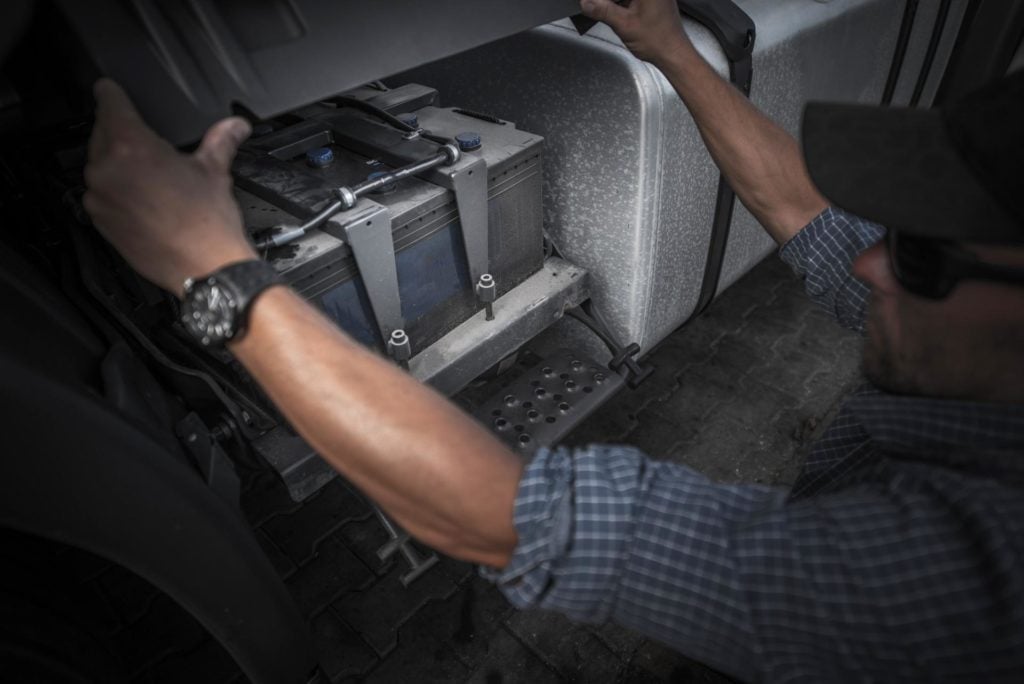
- Use a voltmeter to check the charge on your batteries. Make sure the RV is not connected to electricity to guarantee an accurate reading. A completely charged 12 volt RV battery should read about 12.7 volts. Anything under 12 volts should be recharged.
- Turn off the engine and any internal appliances.
- Using a wrench, disconnect the cable from the battery leads starting with the black cable first and then the red cable second.
- Check to see if the water level meets the requirements. If not, refill with distilled water.
- Attach the charging cables to the battery starting with the red cable, then the black cable.
- Plug the charger into the power source and turn it on.
- Allow the batteries to be completely charged. This is a timely process and may take hours to days.
- Once fully charged, turn off the power, disconnect the charger starting with the black cable and then the red cable, reconnect the battery starting with the red cable first then the black cable, and double check to ensure that the battery was installed correctly.
Flush and Sanitize Water System
Flushing the water system in your RV is one of the most important steps in de-winterizing your RV to make sure it is fully functional for your next camping trip. Having access to clean water on tap is one the best luxuries differentiating RVing from other forms of camping. When preparing your RV for winter, you most likely added antifreeze to your water system. Now you must flush out that antifreeze in order to have clean and safe drinking water. Here are the steps one should take when flushing their RV water system:
- Ensure all taps are completely closed and all drain valves installed properly.
- Drain the entirety of the fresh water tank to get rid of most of the antifreeze and refill with potable water.
- Turn on the water pump.
- Open all water faucets found in the RV.
- Flush the toilet multiple times (4–5 flushes should do).
- Allow the water to run for several minutes to ensure that all of the antifreeze is flushed out.
- Once the water is fully clear, you may turn off the faucets.
- Turn the water heater off of bypass mode.
- Replace all water filters with new cartridges.
- Dump gray water and black water tanks.
After flushing out the water system, it is a smart idea to sanitize the water system. It is an important step into de-winterizing your RV as it will eliminate any bacteria or mold left in your water system. The steps to sanitize your water system are as follows:
- Close all drains, faucets and drain valves.
- Measure ¼ cup of household bleach for every 15 gallons of water in the freshwater tank.
- Pour the bleach into a 1 gallon container filled with water to dilute it.
- Add the bleach and water solution to the freshwater tank.
- Fully fill the fresh water tank with potable water.
- Run the water through the pipes and faucets until you are able to smell the bleach in the water.
- Let the solution sit for up to 12 hours before draining all water from the system.
- Refill the fresh water tank with potable water.
- Turn on the water pump and faucets until you can no longer smell any bleach. This is to ensure that all bleach is flushed out of the water system.
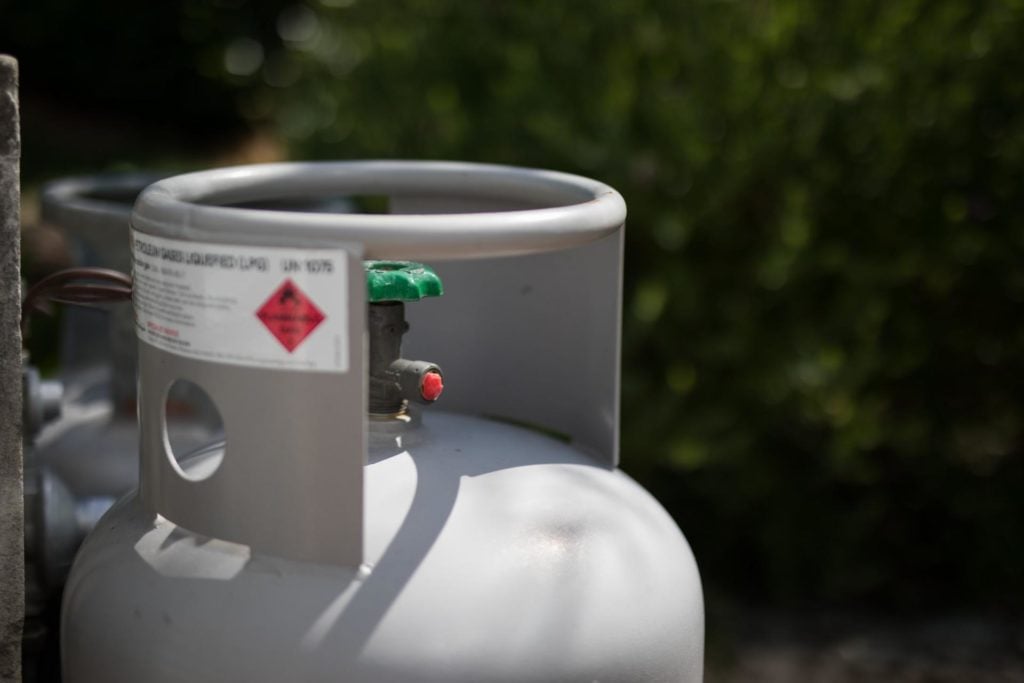
Replacing Propane Tanks
Checking and replacing your propane tanks for the spring is a crucial part of getting your RV ready to roll. Checking to make sure your propane tanks are connected properly and that there are no leaks can prevent any potential dangers as well as ensure that you do not run through your entire propane supply in the first few days of your trip. When reinstalling your propane tanks, first make sure all propane appliances are turned off, then place the tanks on their proper mounts and connect the hose. Check to see if the propane hose has been fitted properly by turning on the propane tight slightly to open the gas line. Next you are going to apply some soapy water to each of the housing connectors with a sponge. Check to see if there are any bubbles forming. If so, there may be a propane leak. Proceed by tightening the fitting and attempting the process once again. If you have determined there is a leak in your housing system, get it repaired by a professional before your next trip.
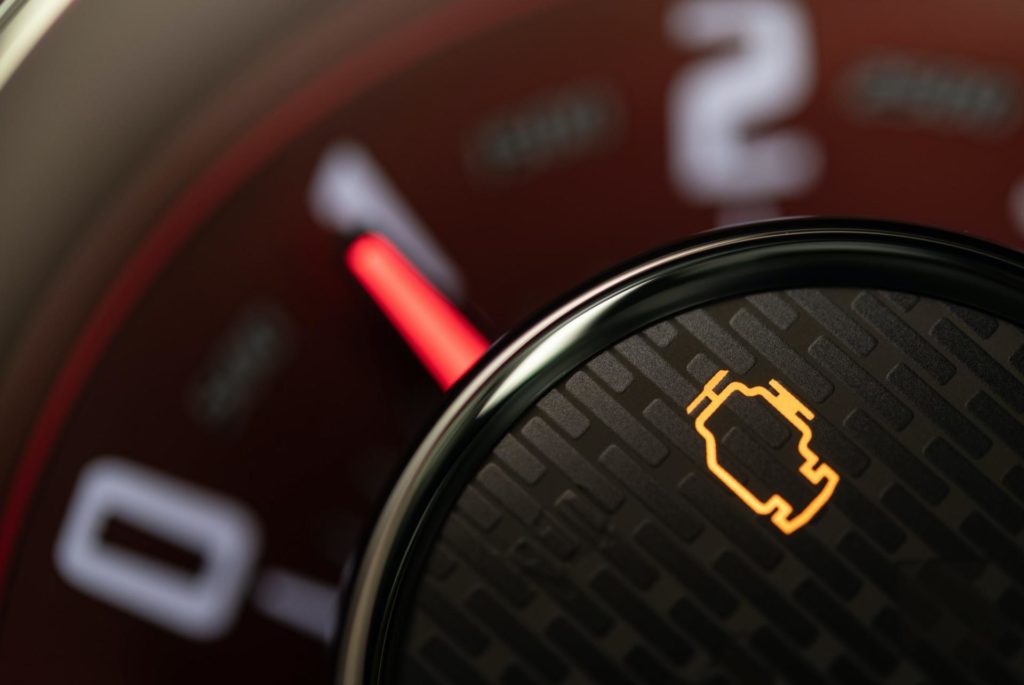
Check The Engine
You can’t do much RVing if the engine won’t run. This is why you should complete an engine check before venturing out on your next trip. First, check to see that all lights and controls are operating properly. Check all fluid levels such as the engine oil, brake fluid, transmission fluid, coolant, windshield wiper fluid, and power steering fluid. If any of these fluids are low, top them up using the recommended grade of fluid and correct amounts. Finally hop in the driver’s seat and turn on the RV. Check for any errors or dash lights and then make sure that headlights, taillights, brake lights, fog lights, and windshield wipers are working. If you come across any dash lights or errors, have your RV inspected by a professional mechanic.
Plan Your Next Camping Trip
Now that your RV is de-winterized, cleaned, and ready for the season, you can finally head out on your next camping adventure, returning to some of your favourite spots and exploring somewhere new. Explore the Trailer Parks Canada campground listings near you to find a perfect campsite. If after this checklist you realize that your current RV just isn’t cutting it anymore, check out our classifieds where you can find RVs, boats and camping gear for sale as well as get into contact with RV dealerships and boat dealerships near you.